Crafting Using Old Maps – Create a DIY bag from your old OS Maps!
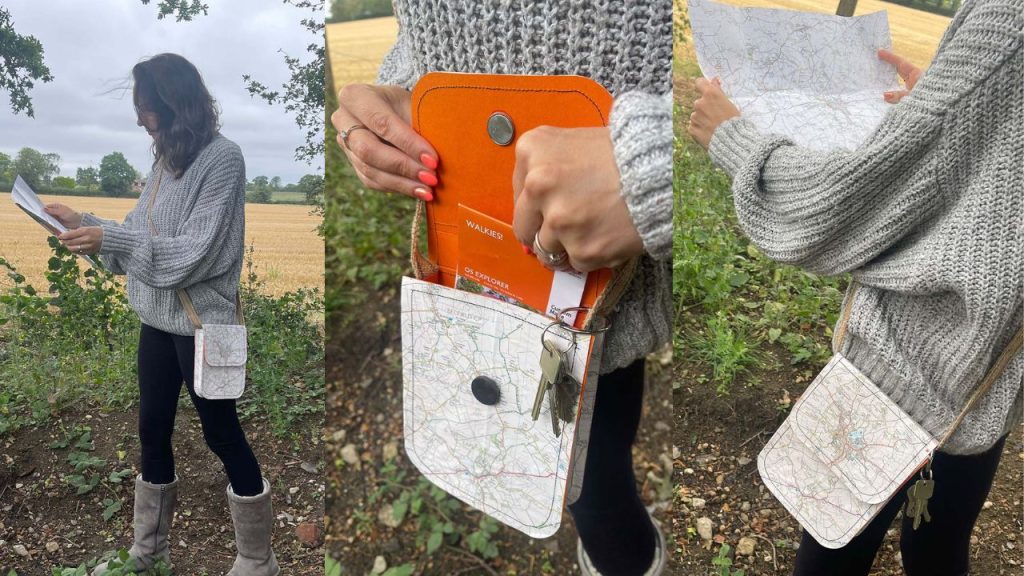
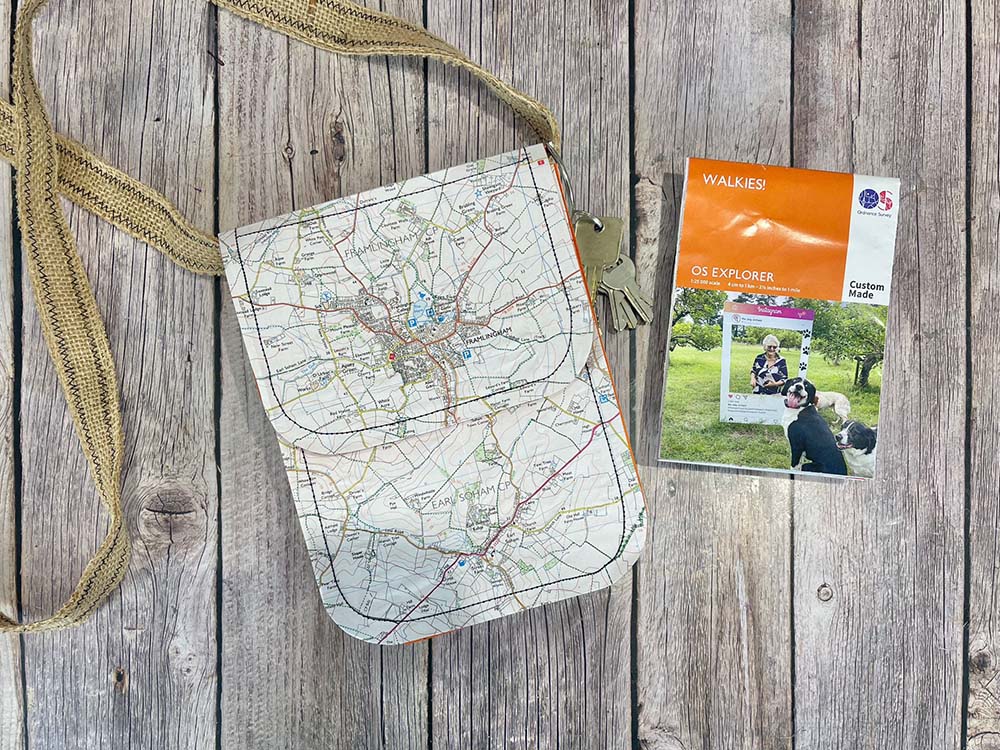
Crafter and designer Lou Collins has created a really easy to follow tutorial showing us how we can upcycle old Ordnance Survey maps to create a really useful little bag, including a free downloadable template. It’s an ideal gift to make for a loved one, especially when teamed with a custom map which fits perfectly in the inside pocket. Be sure to let us know if you make one yourself, share a pic using #ordnancesurvey
Materials Needed:
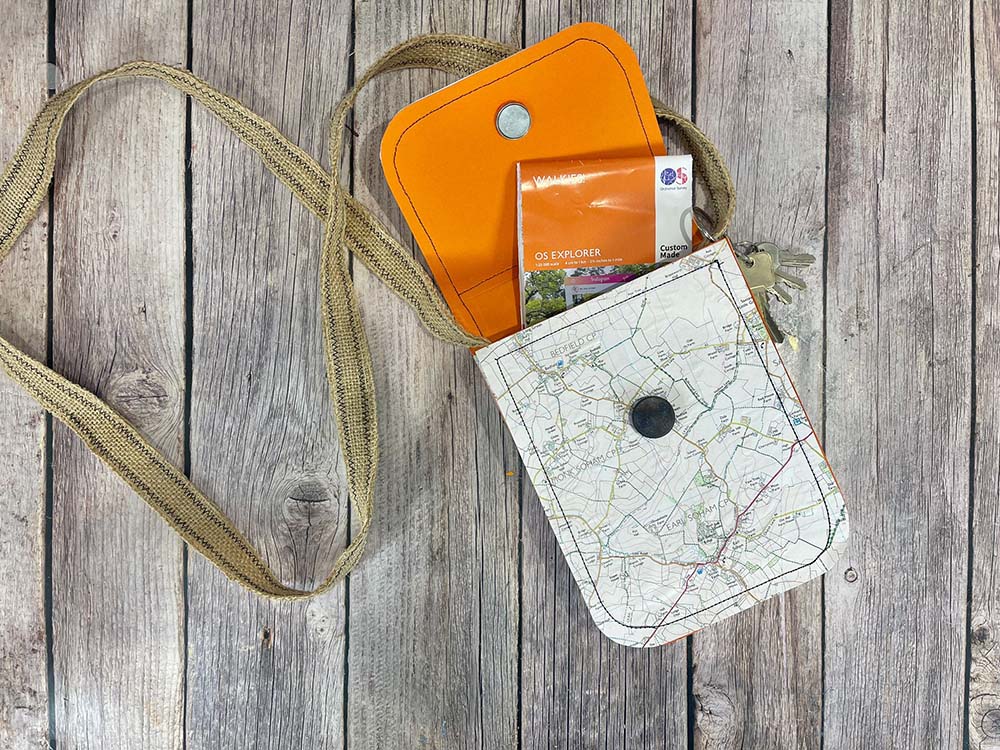
- OS Map
- 300gsm cardstock
- Downloadable template
- Wide ribbon
- Scissors
- Removable/repositionable adhesive
- Sewing machine (optional)
- Strong paper glue
- Mod Podge Sealer
- 2 magnets
- Superglue for magnets
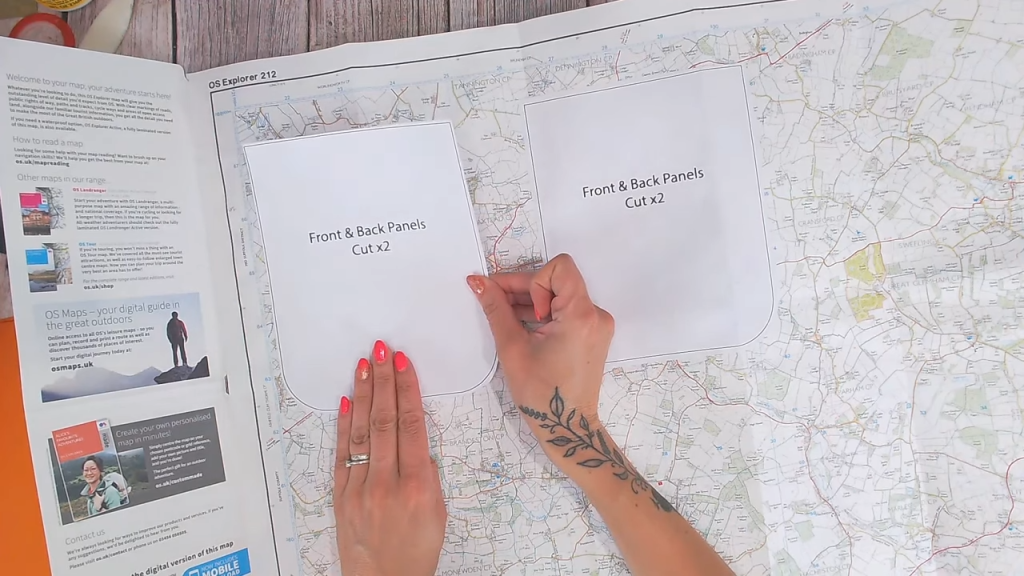
Roughly cut out the pieces of the template and use a removable adhesive to attach to the OS map. Be sure to place the desired areas in the centre of each panel.
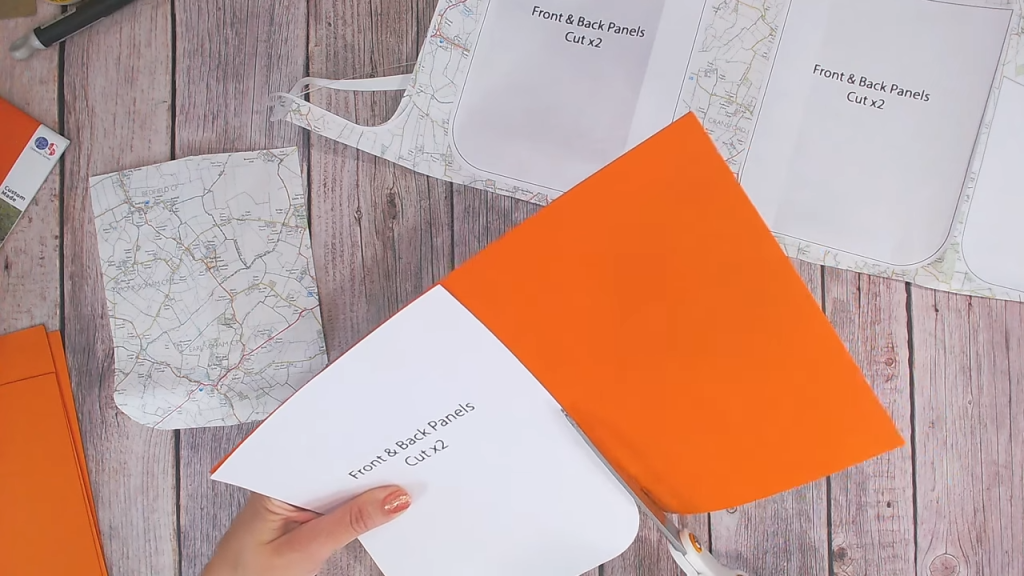
Cut around each template and map carefully. Repeat with some heavy-weight cardstock for each panel too.
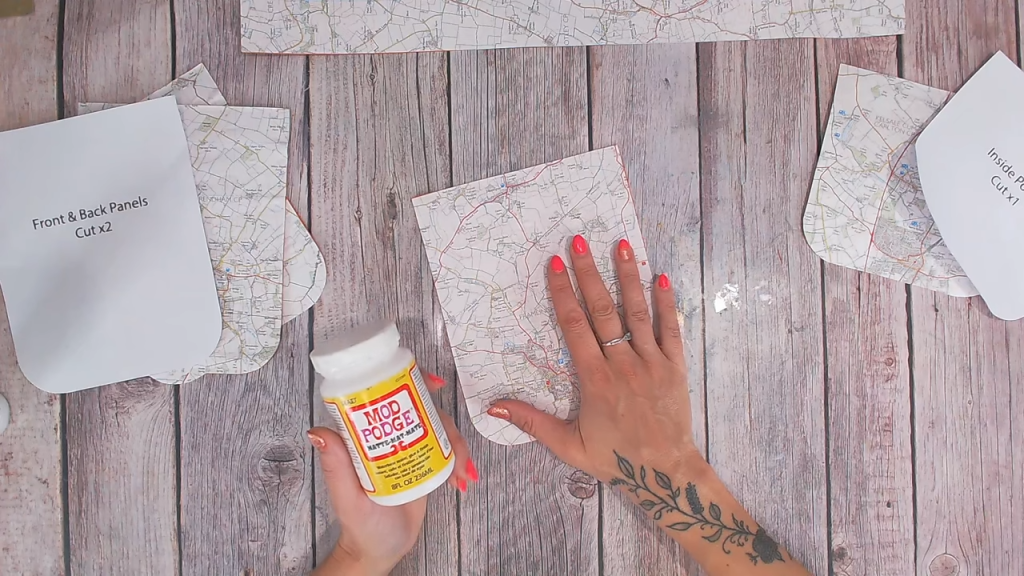
Using a wet glue, adhere each map panel to the corresponding cardstock panel to create stronger pieces. Paint a thin layer of clear sealer over all the map paper pieces and allow to dry.
On the ‘top flap’ panel, score lines at 5cm and 8cm from the short straight edge to create the fold lines to ed the flap over the top of the bag.
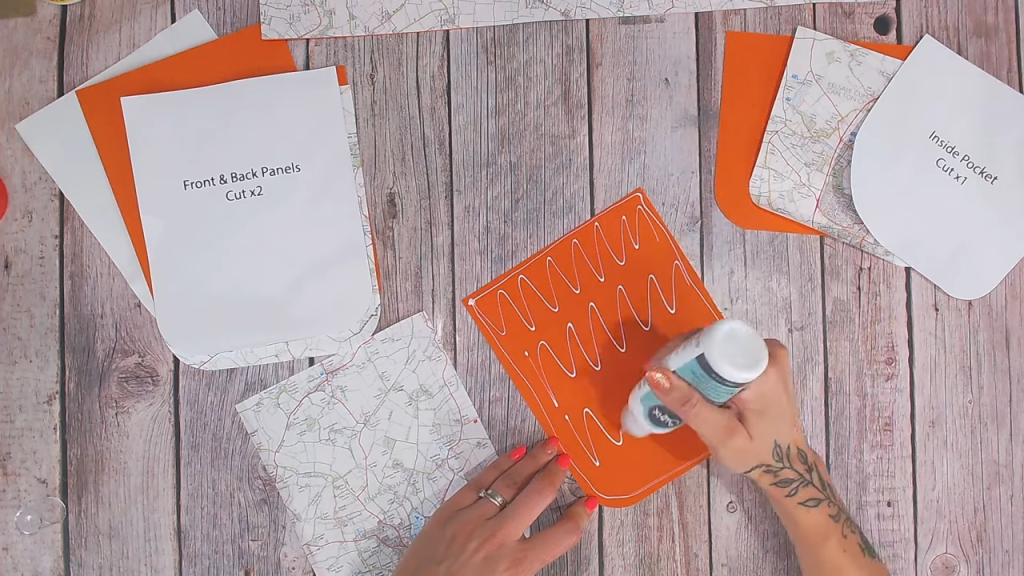
Adhere the back panel and the top flap panel together, placing the top of the back panel against the 8cm score line in the top flap. The map on both pieces show be on the same side.
Adhere the inside pocket panel to the cardstock side of the back panel, only gluing around the edge and not along the top straight edge.
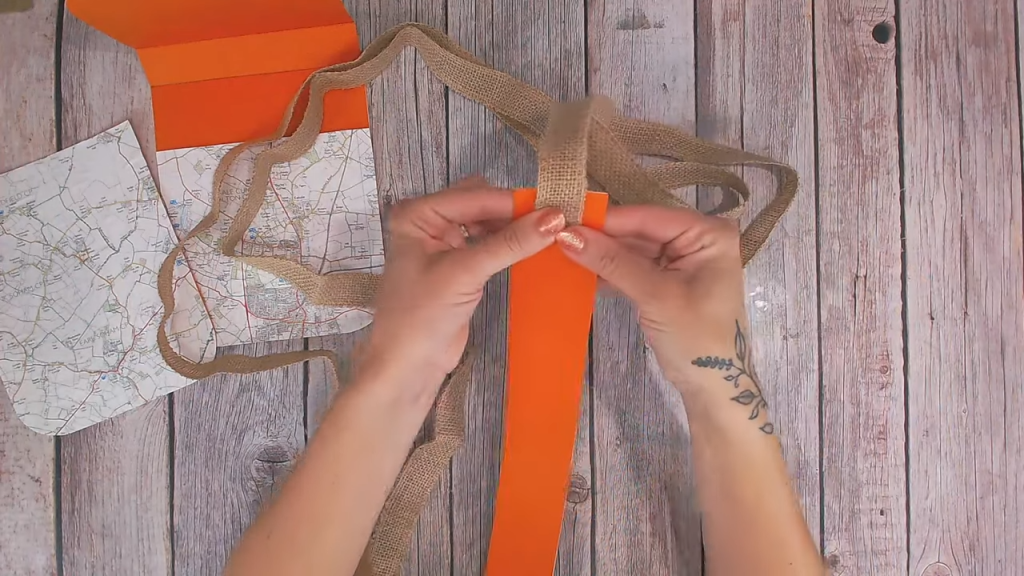
Cut a strip of both OS map and cardstock 5cm x 50 cm and adhere together with wet glue. This is the ‘side panel’.
Take the 4 template panels plus the side panel and using a sewing machine, straight stitch around all the edges, 1cm in.
Measure from your shoulder to hip and double the length to find the measurement of a strap. Cut two pieces of ribbon at this length and stitch together.
Adhere each end of this strap to the two ends of the side panel on the cardstock side. Place a square of cardstock over the ends of the strap and stitch in place to secure.
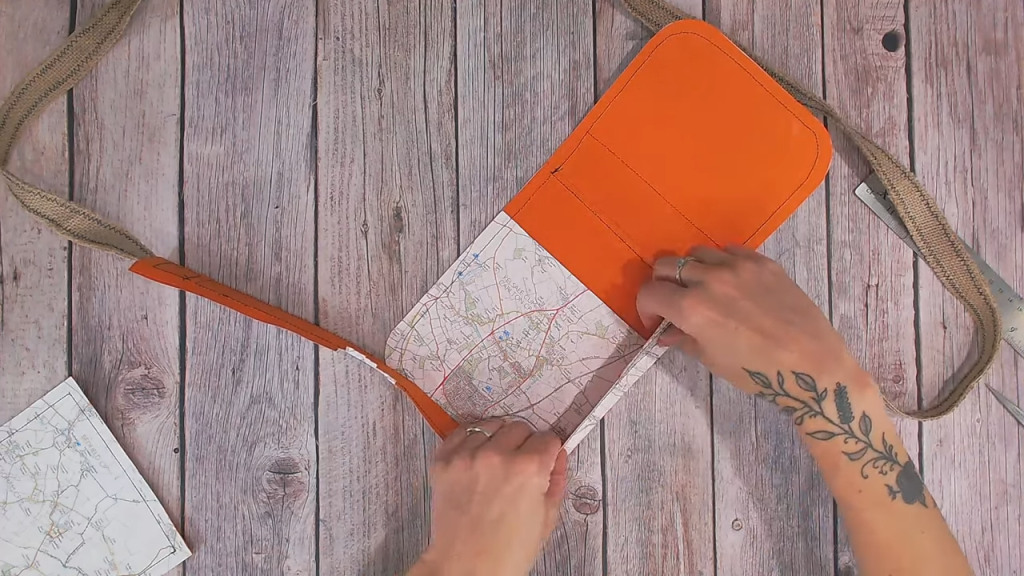
Find and mark the center of the side panel and the center of the base of the back panel. Line both up and with a pencil, mark on the side panel where the curve of the back panel starts and finishes on both edges. Make small snips in these areas into the side panel, up to the stitching.
With a strong glue, adhere the 1cm edges around the edge of the back panel, starting in the marked center and bending around the curves.
Once dry repeat with the front panel on top. Allow to dry thoroughly
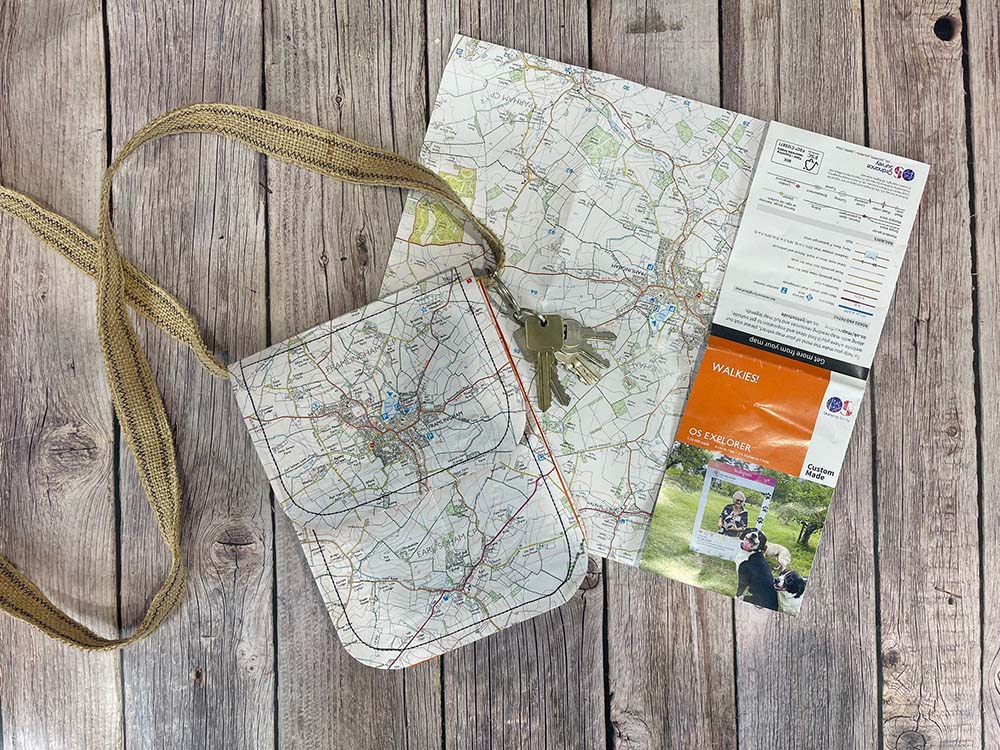
Finish by adding a book ring to the strap to hold keys and to make it the perfect gift why not add a custom-made map from Ordnance Survey in the inside pocket.
The finished upcycled map bag is perfect for dog walks! It has light water resistance due to the Mod Podge coating, a secure magnet closure, and a handy pocket inside. The long strap makes it easy to carry over your shoulder.
I hope you’ve loved this tutorial, be sure to follow Lou over on her Instagram and subscribe to her YouTube channel to see more of her fabulous designs.
